
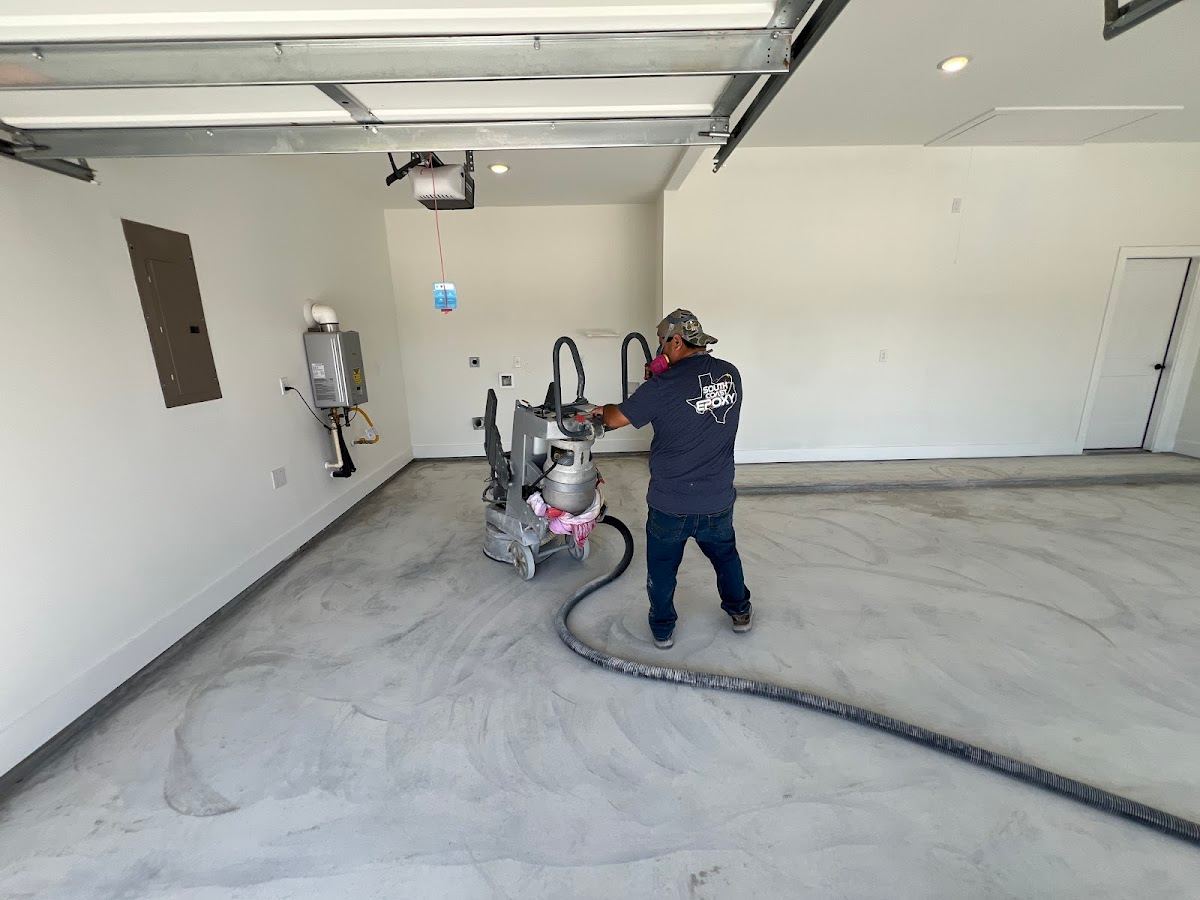
If your epoxy floor is peeling in sheets, lifting under hot tires, or bubbling like a bad sunburn, the coating almost never gets the blame it deserves. The slab underneath does. On the Gulf Coast, where heat, humidity, and slab-on-grade construction all push back against a coating, concrete grinding before epoxy is not an optional extra step. It is the single biggest factor in whether your floor lasts fifteen years or fifteen months, and it is the part of the job a homeowner or shop owner never sees once the floor is finished.
Why Surface Prep Decides Everything
Here is the honest truth about epoxy flooring: the coating going down is the easy part. Mixing and rolling resin is straightforward. What separates a floor that holds up from one that fails is everything that happens before the first bucket is opened.
When we look back at floors that failed, almost none of them failed because the epoxy product was bad. They failed because the concrete was not opened up, repaired, cleaned, or tested correctly. The coating had nothing to grip, or it was fighting moisture it never should have had to fight. That is why we treat surface preparation as the main event, not a chore to rush on the way to the fun part.
Think of it like paint on drywall. Skip the sanding and the primer and the paint looks fine for a while, then it flakes. Concrete is the same, except the stakes are higher because you are driving cars on it, rolling pallet jacks across it, and exposing it to spills and Texas heat every single day. The coating bonds mechanically, not chemically. It needs a rough, open surface to lock into. A bagged kit rolled onto a swept slab has nothing to hold onto.
Concrete Grinding Before Epoxy: How the Bond Is Made
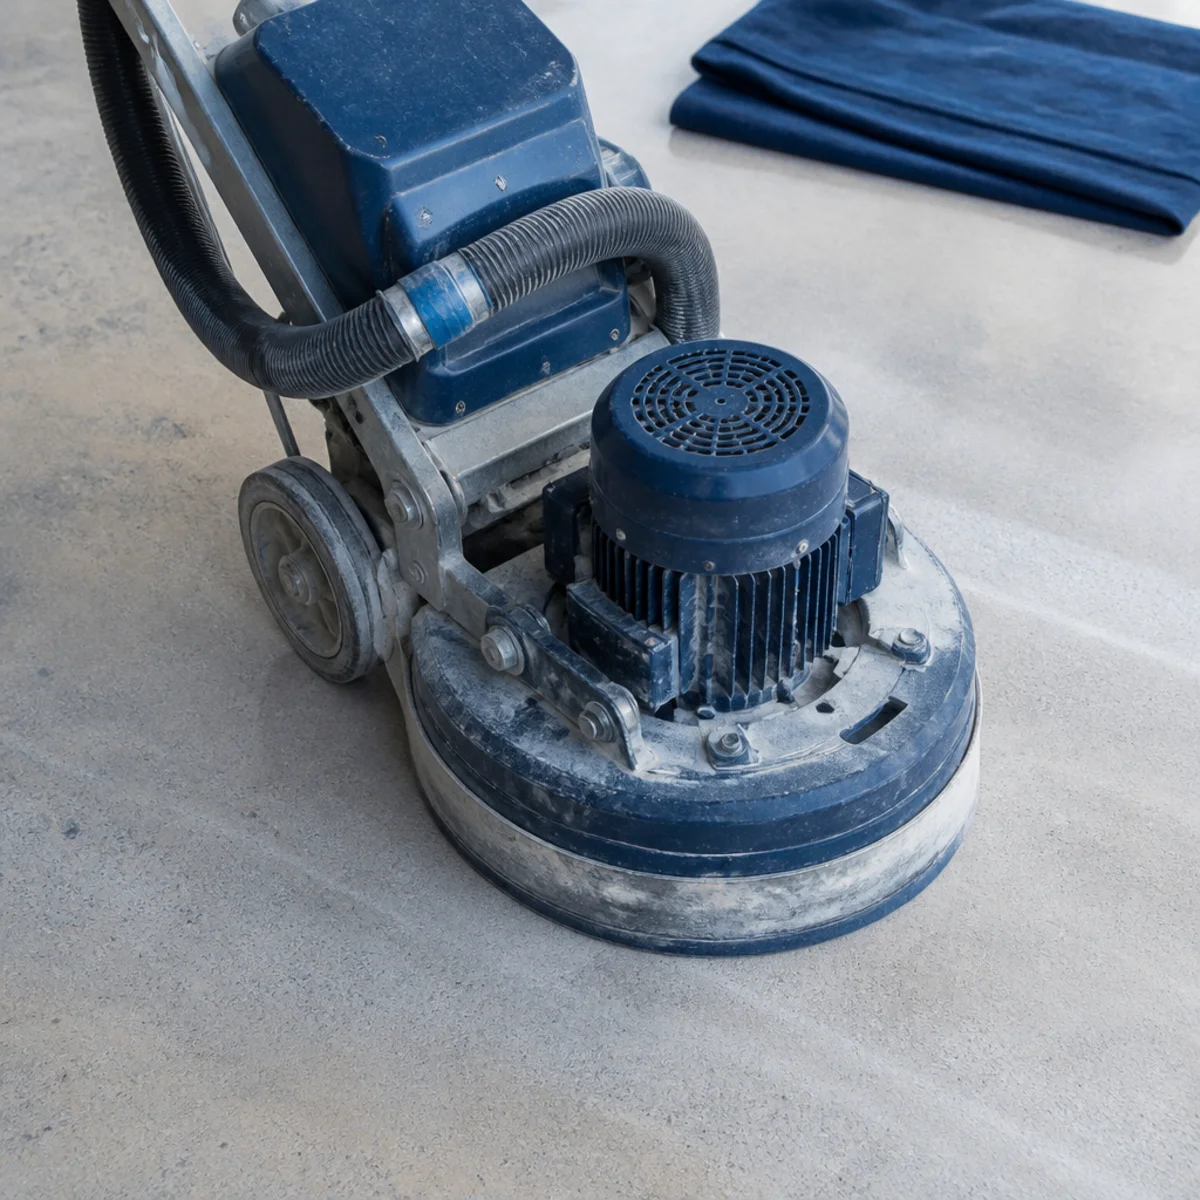
The foundation of a lasting install is a profiled slab, and we get there with concrete grinding. Diamond-tooled grinders run across the entire floor to strip off the weak, slick top layer and open up the pores of the concrete. This leaves a textured surface full of microscopic peaks and valleys, and that texture is what the epoxy keys into.
The industry measures this texture as a Concrete Surface Profile, or CSP, defined by the International Concrete Repair Institute on a scale from CSP 1 (nearly smooth) to CSP 9 (very rough, exposed aggregate). Different systems need different profiles:
| Coating system | Target profile | What grinding removes |
|---|---|---|
| Thin sealers, stains | CSP 1–2 | Light laitance, dirt |
| Standard epoxy / polyaspartic | CSP 2–3 | Sealers, curing compounds, weak surface |
| High-build epoxy, mortar systems | CSP 3–5 | Old coatings, contaminants, soft concrete |
A troweled, power-floated, or previously sealed slab is far too dense and slick for anything to stick to long term. Grinding to the right CSP gives the coating consistent "tooth" across the whole floor, exposes clean and sound concrete, and removes the old sealers and curing compounds that silently kill adhesion. Bonding is mechanical, not magical, and the profile is where that bond lives.
The Full Surface-Prep Sequence
Proper prep is not one step. It is a sequence, and each part solves a specific problem that would otherwise come back to bite you.
1. Diamond Grinding and Profiling
We grind the entire slab to the target CSP for the system going down. On most garage and residential floors we use multi-head walk-behind grinders with hand grinders for edges and corners, since a machine cannot reach tight to the wall. This is where the floor gets flattened, old coatings come off, and the profile is set.
2. Crack, Joint, and Spall Repair
Texas slabs move. Our expansive clay soils swell when they soak up rain and shrink when they dry out, and that ground movement shows up as cracks, spalling, and lifted control joints. Coat straight over those defects and they telegraph through the finished floor, leaving you staring at the same cracks you tried to cover.
Before coating, we chase out cracks, fill them with rigid polyurea or epoxy repair material, and grind everything flush. Spalled and pitted areas get patched, and joints get treated for the specific system. Handling this right is part of long-term floor repair and maintenance and it is what keeps a fresh floor looking fresh.
3. Moisture and Vapor Testing
This is the step skipped most often and the one that causes the most expensive failures on the Gulf Coast. Most homes and shops around League City and the bay area are built slab-on-grade, meaning the concrete sits directly on the ground with no basement underneath. Ground moisture constantly migrates up and out through that slab as vapor.
We test before committing to a system. The industry standards are ASTM F2170 (in-situ relative humidity probes drilled into the slab) and ASTM F1869 (calcium chloride moisture-vapor emission rate). If readings come back high, we install a moisture-mitigation primer or barrier first, then coat over it. Trap that vapor drive under a non-breathable coating and the pressure pushes the coating off from below, weeks or months after install. The floor can look perfect on day one and start blistering once the weather shifts. In our climate, skipping the test is gambling with the whole floor.
4. Cleaning and Dust Control
Grinding generates fine concrete dust, and any dust, oil, or contaminant left on the slab sits between concrete and coating and ruins the bond. We grind with HEPA vacuum-assisted equipment so dust is pulled up as it is created rather than drifting through your home or business. After grinding, the slab is vacuumed and cleaned again so the coating goes onto a genuinely clean, contaminant-free surface.
Grinding vs. Shot Blasting vs. Acid Etching
There are three real ways to profile concrete, plus one shortcut that is not prep at all. It is worth being honest about each.
| Method | Best for | Profile | Honest tradeoff |
|---|---|---|---|
| Diamond grinding | Garages, homes, retail, edges, tight spaces, flattening | CSP 1–3 | Slower on huge slabs, but precise, low-dust, and flexible |
| Shot blasting | Large open warehouse and industrial slabs | CSP 3–5+ | Fast over big areas, but noisier, cannot reach walls (still needs edge grinding) |
| Acid etching | Small DIY jobs only | Shallow, uneven | Unpredictable, fails on dense or sealed concrete, residue risk |
Diamond grinding is the everyday professional standard for garages and most commercial spaces. It gives a controllable profile, flattens high spots, removes old coatings, handles dense concrete, and gets into corners.
Shot blasting fires steel abrasive at the slab and is the go-to for large, open warehouse and industrial floors where it lays a deep, uniform profile fast. It can not reach close to walls, so edges always get ground regardless. We choose the method based on the slab in front of us, not a one-size habit.
Acid etching can work on a small, open-pored slab if the chemistry is neutralized and rinsed perfectly, but it gives a shallow, uneven profile, does almost nothing on hard-troweled or sealed concrete, and one mistake leaves residue that wrecks adhesion. It is the DIY middle ground, not a professional method.
Paint-and-pray — the home-center kit rolled onto a swept slab with no profiling — is the one we get called to tear out and redo most often. It looks great for a season, then lets go.
What Happens When Prep Gets Skipped
When a floor is installed cheap and fast, prep is the first thing cut because it is the most expensive and labor-intensive part. The results are predictable, and they are exactly the failures people call us to fix:
- Peeling and flaking — the number-one failure. No profile means no bond, so the coating lifts at the edges and peels.
- Hot tire pickup — warm tires soften a poorly bonded coating and pull it off the slab, leaving bare patches shaped like your tires.
- Bubbling and blistering — untreated moisture and vapor drive pushing up from below.
- Delamination — whole sections separating because of contamination, moisture, or no profile.
A premium coating over a slick, dirty, or wet slab fails just as fast as a cheap one. The concrete is the foundation, and no product overcomes a foundation that was not prepared. This is the core reason properly installed epoxy flooring lasts far longer than a kit job.
What Drives the Cost of Surface Prep
We never quote prices sight unseen, because prep cost depends entirely on the slab. Honest pricing starts with an honest look at the concrete. The main factors:
- Existing coatings — stripping old epoxy, paint, tile mastic, or carpet glue adds significant labor.
- Slab condition — heavy cracking, spalling, and pitting mean more repair before profiling.
- Moisture readings — if the slab needs a mitigation system, that is real material and labor.
- Profiling method and size — large open areas may justify shot blasting; tight garages favor grinding.
- Surface contamination — years of oil, grease, or salt in a shop or coastal slab take more work to remove.
A bid that comes in suspiciously low almost always means prep is being shortcut. That savings disappears the first time the floor fails. If you are weighing systems, our guides on epoxy vs. polished concrete and the best flooring for Texas garages walk through how prep factors into each choice.
How South Coast Epoxy Preps Every Floor
We do not have a fast version and a slow version of prep. Every floor gets the same treatment, whether it is a two-car garage in Clear Lake, a restaurant kitchen in Houston, or a warehouse near the water in Galveston. Andrew and the crew grind the slab to the right CSP, repair the cracks and joints, test for moisture and mitigate it when the slab calls for it, and clean down to bare, sound concrete before a single coat goes down.
That discipline is why our floors hold up in conditions that eat poorly installed floors alive. The salt air, the humidity, the heat, the slab-on-grade vapor drive, and the expansive clay underneath all get accounted for before we open a bucket of epoxy. It is not glamorous work and the customer never sees most of it, but it is the difference between a floor you forget about because it just works and a floor you are calling someone to fix two years in.
Ready for a Floor That Won't Peel?
If you have an old floor already lifting, or you are planning a new one and want it done right the first time, proper prep is where it starts. Email us at info@southcoastepoxy.com or reach out through our contact page to set up a look at your slab. We will tell you straight what your concrete needs, and we will prep it the way a Gulf Coast floor has to be prepped to last.
Frequently Asked Questions
Do you have to grind concrete before epoxy?
For a lasting bond, yes. Diamond grinding profiles the slab so the coating mechanically locks into the concrete, which acid etching alone cannot reliably do. Grinding is the standard for any professional epoxy install.
Why is my old epoxy floor peeling?
Peeling almost always comes from inadequate prep or untreated slab moisture rather than a bad coating product. If the surface was not profiled deep enough, or moisture was driving up through the slab, the epoxy never got a chance to bond and it eventually lets go.
Is acid etching as good as grinding?
No. Etching gives an uneven, shallow profile and leaves residue if it is not rinsed perfectly. Diamond grinding produces a consistent, deeper profile across the whole slab, which is why it is the professional standard for epoxy.
How do you handle moisture in a Texas slab?
We test for moisture and vapor drive before any coating goes down. When the readings are high, we install a moisture mitigation system first so the floor will not bubble, blister, or delaminate later in our humid Gulf Coast conditions.
About South Coast Epoxy
South Coast Epoxy is a locally owned epoxy, polished concrete, and flooring contractor based in League City, TX, serving homeowners and businesses across the Houston Bay Area. Owner Andrew and his crew specialize in durable, great-looking floors built for the Texas Gulf Coast. Get a free quote →